Anasiou Canaris
10-March-23
Equip Yourself for Podcasting Success: A Comprehensive Guide to Gear and Equipment
Starting a podcast can be an exciting venture, but one of the most important decisions you will make as a podcaster is choosing the right gear. The gear you choose will have a significant impact on the quality of your podcast, so it's important to make the right choice. In this article, we will go over some of the best gear to start a podcast.
Microphones
The most important piece of equipment for your podcast is the microphone. A good microphone will ensure that your voice sounds clear and crisp, and will also help to reduce any background noise. Ensuring you have good audio is the best way to ensure a smooth post production process. There are two types of microphones: dynamic and condenser.
Dynamic microphones are best for recording in noisy environments as they are less sensitive and have a better ability to pick up your voice without picking up too much ambient noise. On the other hand, condenser microphones are more sensitive and provide better sound quality, but require a quiet environment to work effectively.
How should I position my microphone?
Almost more important than the quality of the microphone itself is your microphone placement. Proper mic placement can make all the difference in the quality of your podcast's sound, and can help ensure that your listeners stay engaged and interested throughout.
The first thing to consider when thinking about mic placement for podcasting is the type of microphone you're using. Each of the above microphones has its own unique characteristics, and each may require slightly different placement depending on your recording setup.
For example, if you're using a condenser microphone, you'll want to ensure that the microphone is placed close to the sound source. This is because condenser microphones are highly sensitive and are designed to pick up even the subtlest nuances of sound. On the other hand, dynamic microphones are less sensitive and can be placed slightly further away from the sound source.
Once you've determined the type of microphone you'll be using, it's time to consider placement within your recording space. This can be a critical step in ensuring that your podcast sounds as good as possible.
One important consideration is to ensure that your microphone is positioned at the correct height. This will depend on whether you'll be sitting or standing during your podcast recording. If you're sitting, you'll want to ensure that the microphone is positioned at mouth level. If you're standing, you'll want to position the microphone slightly above your head, pointing down towards your mouth.
Another important factor to consider is the distance between your microphone and your mouth. This will depend on the type of microphone you're using, as well as your own personal speaking style. As a general rule of thumb, you'll want to position the microphone between 6 and 12 inches away from your mouth. This will help ensure that your voice is picked up clearly and that your podcast sounds crisp and professional.
What room works best?
In addition to the position of the microphone, it's also important to consider the acoustics of your recording space. A room that is too reflective or too dead can affect the sound quality of your podcast. To combat this, consider using acoustic panels or other soundproofing materials to help dampen reflections and create a more balanced sound.
Proper mic placement is a critical factor in creating a high-quality podcast. By taking the time to carefully consider the type of microphone you're using, as well as its placement within your recording space, you can ensure that your podcast sounds professional and engaging. So if you're looking to create a podcast that stands out from the crowd, be sure to pay attention to mic placement - it could make all the difference!
We asked our lead audio engineer James to outline the most commonly used microphones for all budgets. No matter if you are just starting out, a pro, run a solo podcast or talk to guests, our top microphone picks can be found below:
Our top Microphone picks for Podcasting are:
Solo USB mic - Rode NT-USB ($150)
The NT-USB is perfect for a solo podcast or for co hosts and guests when they are remote. It offers excellent quality and plugs directly into a USB socket on your computer. No audio interface needed.
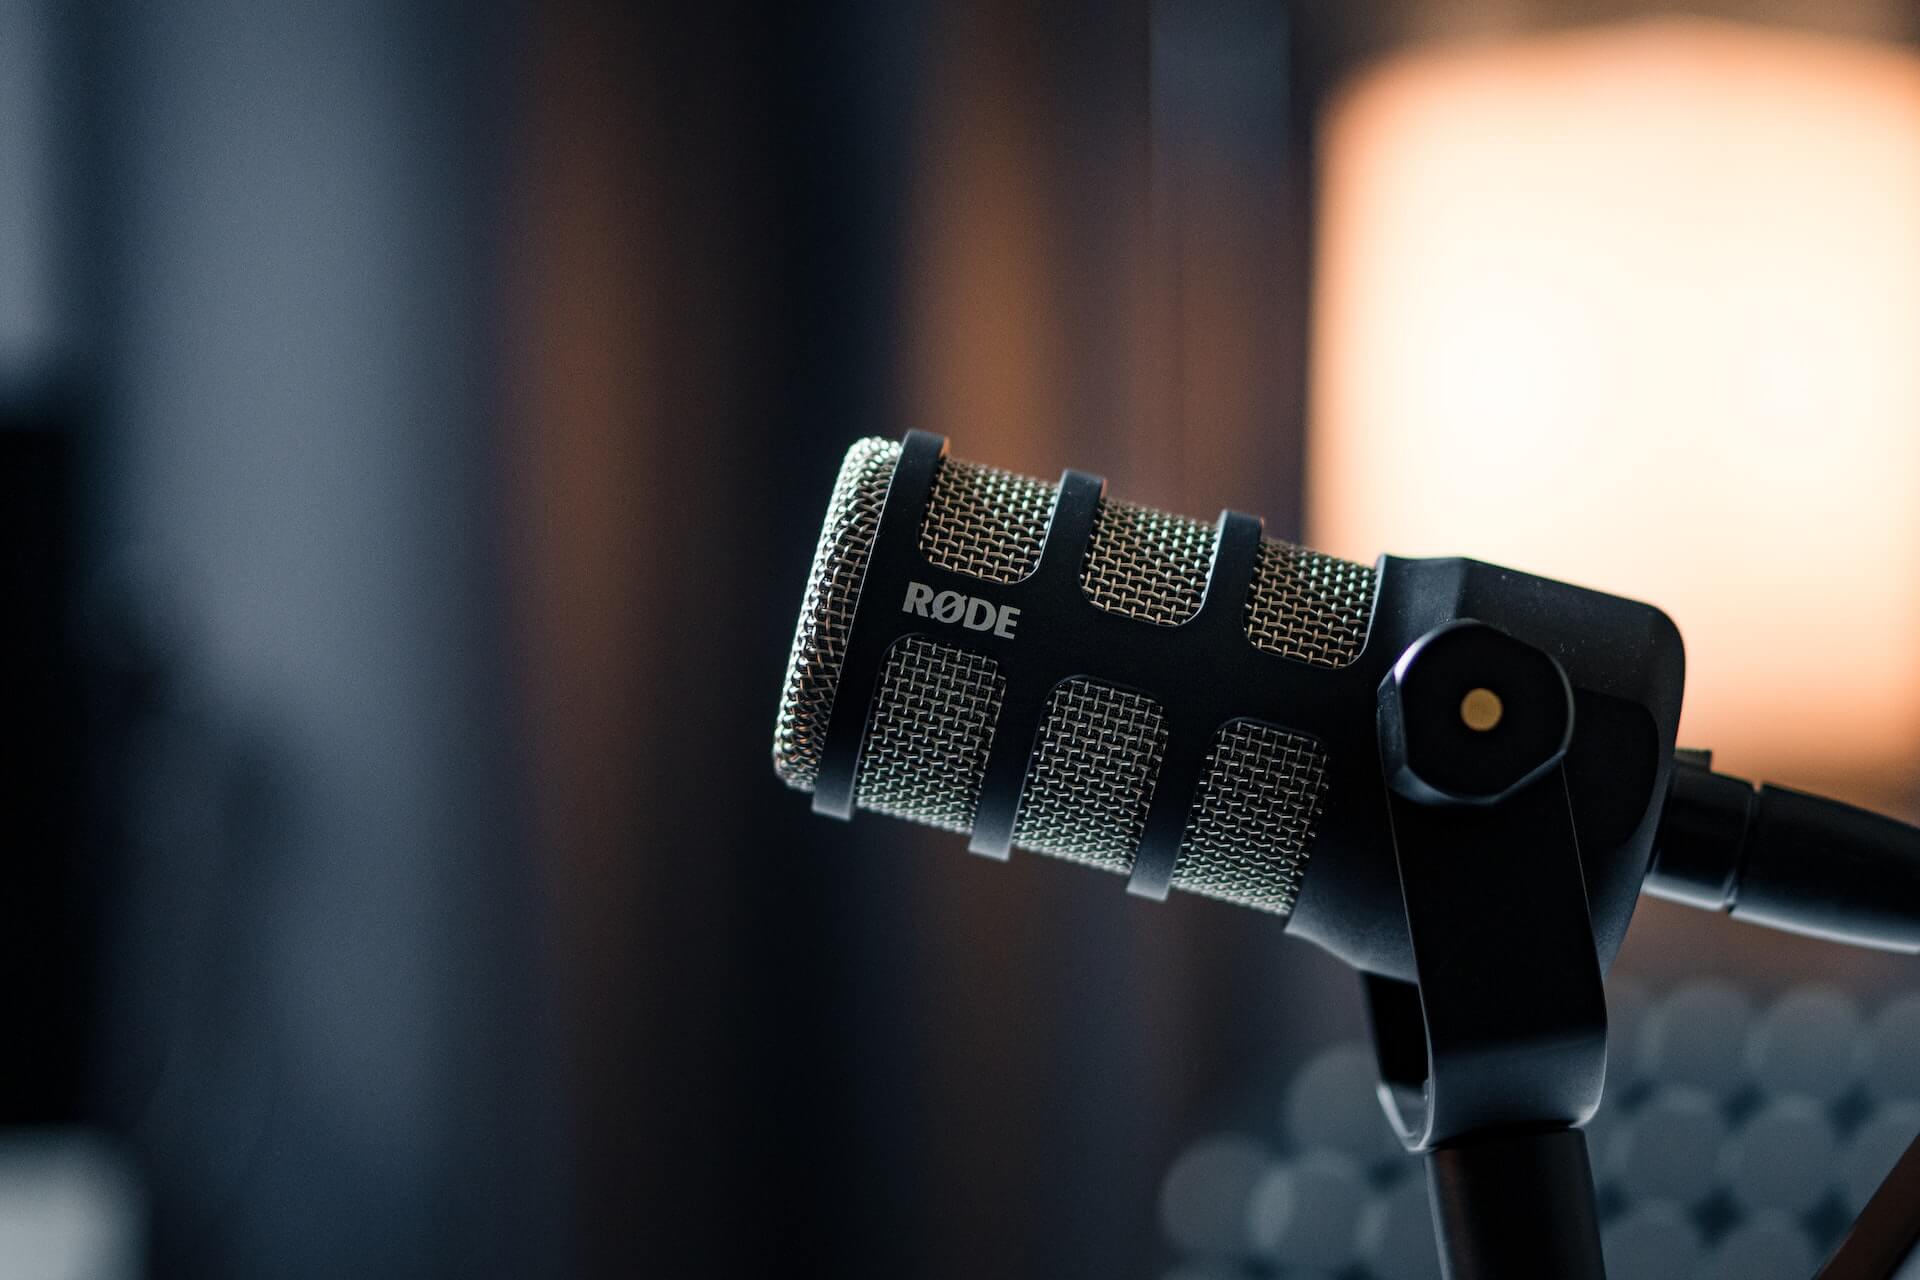
XLR mic - Rode Podcaster ($200)
If you’re rigging more than one mic in the same room, an XLR mic will be your best option. You will need to connect all XLR mics to an audio interface, which will connect to your computer or laptop. We will discuss this later in the article.
Best microphone to send to guests - Rode NT USB Mini ($100)
Small & lightweight, perfect to ship to guests in advance of them appearing on your podcast. This will ensure they provide far better sound quality than using an internal microphone (you can’t expect all guests to have studio-quality equipment). Shipping costs are low and it couldn’t be more simple for a guest with limited technical experience to set up.
High-end XLR mic - Sure SM7B (approx $450)
Taking your podcast to the next level? This is a legendary microphone in the broadcast industry, and you’ll often see it in professional studios around the world. You will also need an XLR interface to use this mic. For those with a higher budget, this won’t let you down.
Headphones
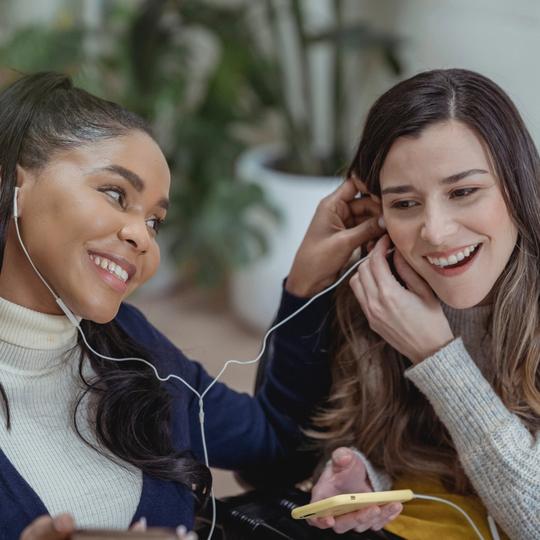
Headphones are sometimes seen as an optional piece of equipment for podcasters. They allow you to monitor your audio quality in real-time, and ensure that you can hear any audio cues or sound effects that you may need to respond to during your recording.
Using headphones can be a helpful addition to your podcast setup, but there are both pros and cons to consider before making the decision to use them. In this section, we'll explore the advantages and disadvantages of using headphones when recording and editing your podcast.
Pros:
Improved Audio Monitoring: One of the biggest benefits of using headphones is that they allow you to hear your recording with greater clarity and accuracy. With headphones, you can pick up on small details and nuances that might be missed without them, such as background noise or microphone interference.
Better Control of Audio Levels: Headphones can also help you to better control the audio levels of your recording. By hearing your own voice in real-time, you can adjust your speaking volume and ensure that your voice is consistent throughout your podcast.
Increased Isolation: Headphones can also provide greater isolation from external noise, making it easier to focus on your recording and reduce distractions. This can be especially helpful if you're recording in a noisy environment.
Collaborative Recording: If you're recording a podcast with multiple people, headphones can help each person to hear and communicate with each other more easily, reducing the likelihood of miscommunications or overlapping dialogue.
Cons:
Audio Bleed: One of the main disadvantages of using headphones is the risk of audio bleed. This is when sound from the headphones leaks into the microphone, causing unwanted noise and interference in your recording.
Comfort: Wearing headphones for an extended period of time can be uncomfortable, especially if they are too tight or too heavy. This can be a distraction and make it difficult to focus on your recording.
Expensive Equipment: Quality headphones can be expensive, and investing in a high-quality set may not be feasible for everyone.
Technical Difficulties: Headphones can also introduce additional technical complexities, such as issues with compatibility, sound quality, and connectivity.
Overall, whether to use headphones with your podcast setup depends on your personal preferences, needs, and budget. While headphones can provide improved audio monitoring and control, they also come with the risks, and often just down to the preference of the podcaster or guest if they feel more comfortable with or without using this bit of gear.
Budget: Under $50
a. Koss PortaPro: These headphones are a great budget option that provide clear and detailed sound quality. They have a lightweight design that is comfortable for long periods of wear.
b. Monoprice Modern Retro: These headphones have a classic look and a warm sound that is well-suited for podcasting. They are comfortable and have an over-ear design that helps to block out background noise.
Mid-Range: $50 - $200
a. Audio-Technica ATH-M40x: These headphones provide excellent sound quality and are highly regarded by audio professionals. They have a closed-back design that helps to block out external noise.
b. Sennheiser HD 280 Pro: These headphones are durable and comfortable, with a closed-back design that provides excellent sound isolation. They have a flat frequency response that is ideal for accurate monitoring.
High-End: Over $200
a. Beyerdynamic DT 990 PRO: These headphones provide exceptional sound quality with a wide frequency response and a spacious soundstage. They are comfortable for long periods of wear and have an open-back design that provides a more natural sound.
b. Sony MDR-7506: These headphones are a favorite among audio professionals, known for their clear and accurate sound quality. They have a closed-back design that helps to block out external noise and are highly durable.
Audio Interface
An audio interface is a device that allows you to connect your microphone and headphones to your computer or recording device. It also provides preamps and converters that help to improve the sound quality of your recordings.
When choosing an audio interface, it's important to look for a model that provides high-quality preamps and converters, as well as good compatibility with your computer and recording software.
You will need to decide weather you are plugging your audio interface into your computer via USB or wanting a portable audio interface setup.
Below are our roundup for best audio USB audio interfaces to use with your computer:
Budget: Under $100
a. Focusrite Scarlett Solo: This compact and affordable audio interface is a great option for solo podcasters. It has a single XLR input and a headphone output for monitoring.
b. Behringer U-Phoria UM2: This budget-friendly audio interface provides a clean and quiet sound with a single XLR input and a 1/4-inch instrument input.
c. Tascam US-1x2: This portable audio interface is designed for mobile recording and has a single XLR input and a 1/4-inch instrument input. It also has a built-in headphone output and can be powered by USB or batteries.
Mid-Range: $100 - $300
a. PreSonus AudioBox USB 96: This versatile audio interface has two XLR inputs and is compatible with both Mac and PC. It also comes with the Studio One Artist DAW software for recording and editing.
b. Focusrite Scarlett 2i2: This popular audio interface has two XLR inputs and two headphone outputs for recording with a co-host or guest. It also has a sturdy metal design and a direct monitor feature for low-latency recording.
c. Zoom H4n Pro: This portable audio recorder is a popular choice among podcasters and provides high-quality recording in a compact package. It has two XLR inputs and can record up to four tracks simultaneously. It also has built-in microphones for recording in stereo.
d. Focusrite Scarlett 2i2 (2nd Gen): This popular audio interface is compact and portable, with two XLR inputs and two headphone outputs for recording with a co-host or guest. It also has a direct monitor feature for low-latency recording and a sturdy metal design.
High-End: Over $300
a. Universal Audio Apollo Twin MkII: This high-end audio interface provides exceptional sound quality with its built-in UAD-2 processing for effects and plug-ins. It has two XLR inputs and two headphone outputs for recording with a co-host or guest.
b. RME Babyface Pro: This professional-grade audio interface has four XLR inputs and four headphone outputs, as well as a variety of digital I/O options. It also has low-latency performance and high-quality preamps.
And if you prefer a mobile setup, we recommend the following portable audio interfaces:
Pop Filter
A pop filter is a simple yet effective piece of equipment that can help to improve the sound quality of your recordings. It's a small filter that you place between your mouth and the microphone, and it helps to reduce the popping sound that can occur when you say words that start with a "p" or "b".
When choosing a pop filter, it's important to look for one that is easy to attach to your microphone and provides good protection against pops and plosives.
Our recommendation on pop filters are as followed:
On-Stage ASVS6GB Pop Blocker: This pop filter is an affordable option that effectively reduces plosives. It has a dual-layer nylon screen and a flexible gooseneck that can be adjusted for optimal placement.
Stedman Proscreen XL Pop Filter: This high-quality pop filter has a unique metal screen that eliminates plosives without affecting the high-frequency response of the microphone. It also has a sturdy clamp that attaches securely to microphone stands.
Shure PS-6 Popper Stopper: This pop filter is designed specifically for use with Shure microphones, but can also be used with other brands. It has a 4-inch diameter screen and a flexible gooseneck that can be adjusted for optimal placement.
Rode NT-USB Pop Filter: This pop filter is designed for use with the Rode NT-USB microphone but can also be used with other brands. It has a double-layered nylon screen and a magnetic attachment that makes it easy to install and remove.
Aston Microphones Shield GN Pop Filter: This unique pop filter has a curved design that fits around the microphone and reduces plosives from all angles. It also has a built-in shock mount that reduces vibrations and a large surface area that provides additional sound absorption.
Recording Software
Finally, you will need recording software to capture and edit your podcast. There are many different recording software options available, and some of the well-known in the industry include Audacity, GarageBand, and Adobe Audition.
When choosing recording software, it's important to look for a program that is easy to use, provides good editing tools, and offers compatibility with your computer and audio interface. We strongly recommend using Riverside.fm, as it is built specifically for audio and video podcasting.
Starting a podcast can be a fun and rewarding experience, but it's important to choose the right gear to ensure that your podcast sounds professional and engaging. By investing in high-quality microphones, headphones, audio interfaces, pop filters, and recording software, you can create a podcast that will capture the attention of your listeners and keep them coming back for more.


